
What is more beautiful than a colorful and stylish table? We noticed that not all Fonto customers are aware that Fonto Editor allows styling table cells for a better user experience, and some have difficulty implementing it. In this blog post, we explain how to implement cell styling in XHTML tables.
TL;DR: Here is our reference configuration to implement cell styling.
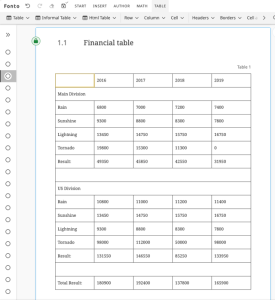
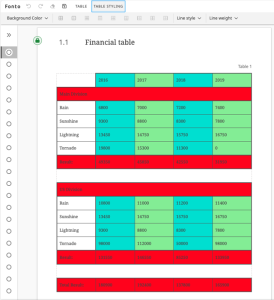
Fonto Editor currently only allows cell styling on XHTML tables. To implement this as shown in our reference configuration, your table schema should allow cell elements to have an attribute for defining styles, for example style="background-color:red;".
To implement cell styling, there are three things you need to do.
Write a cell styling query
The cell styling XQuery module defines the logic to translate the style in the table to a map containing cell styling. It exposes a function which can then be used in the cellStylingTranslationQuery. You can define background color and borders based on the XML in this function.
In our configuration, we set the styles based on the style attribute of cell elements. However, you can configure it to check any other attribute or even other nodes, such as the table element.
Create operations for applying cell styling
To let users make changes to the styling of a table cell, we need to create operations to modify the cell style. There are three styles that can be set to a cell in our reference configuration. These are the cell’s background color, its border style, and its border width.
We create an operation to set the background color. It uses the setCellNodeIdsToSelectedCells transform to tell the next step in the operation which cells have to be modified. The setCellBordersCustomMutation modifies the style attributes of the specified cell elements to the given attribute value.
This mutation contains the logic to set or unset the background color based on the given background color value, as it can be null to unset the background color. It will also merge the background color value with any other styling.
Fonto Editor already provides the set-border-mode-for-selected-cells operation to set the border modes for the selected cells, so we just use this operation in the toolbar. This operation does not modify the XML but only selects the borders to be styled later.
Then there is an operation which sets the border styles. This operation will set both the style and width of the border. This operations uses the setBordersByCellNodeIdToSelectedCells transform. This transform tells the custom mutation which specific borders are selected for styling.
As an option, this transform may include the borders of cells not part of the selection but adjacent to the selected cells. This could be important when adjacent cell borders have a higher priority to the selected cell borders.
In the setCellBorders custom mutation, we change the specified borders for the given cell nodes. This custom mutation will also take the cell border priority into account.
Create a table styling toolbar
To enable users to actually use the operations we have created, we add some buttons to the table styling toolbar. In the toolbar, there are buttons for setting background colors, selecting specific borders, setting border styles and border widths.
Conclusion
With this reference configuration, you can implement your own table cell styling. Make sure to change the namespaces used in the XQuery module. The configuration explained here is only a start, you can tweak and extend it to fit your author’s needs.
I hope this blogpost will help you to implement this table styling feature.

Senior fullstack developer
Stay up-to-date
Fonto Why & How posts direct in your inbox
Receive updates on new Fonto Why & How blog posts by email